|
»Click here to display Table of Contents«
|


Localization |

|

|

|

|
|
Localization |
|
|
|

|
|
»Click here to display Table of Contents«
|
Localization |
|
|
|
|
|
Localization |
|
|
|
|
|
|
||
Composer's Localization feature allows you to provide your forms in multiple languages. Earlier in this guide, you would have seen a modest demo of localization in action.
For localization to be successful, you must have a native-speaker to edit the localization resources. For a rough draft you can use Composer's auto-translation feature (which uses the Google Translate engine), but if you have ever used Translate to render a foreign language web page, you would know that the results are less than convincing.
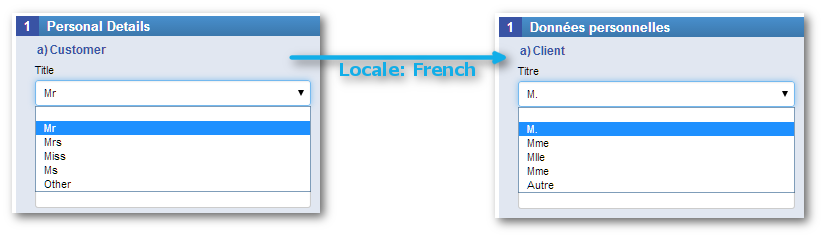
But once you have obtained a decent translation of a form, you will have no need to lay out the form anew for new supported languages (or "locales"). Even dropdown menus, and other widgets involving choices, will reconfigure to reflect the language change:
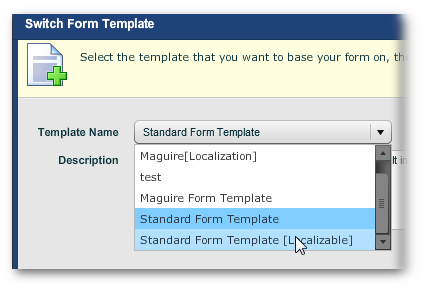
The template used for a form must support localization. So, either you switch the form's template to one that does support localization, or you activate localization support in the template.
Done in "Workspace -> <Account> -> <Organization> -> <Project> Forms tab -> <Form> -> Switch Form Template button". Usually templates with localization activated indicate this in their title in square brackets.
You then can move to the next step: Setting Target Locales
You can also activate Localization in an existing template. Go to "Workspace -> <Account> -> <Library> or <Organization> -> <Templates> tab -> <template> -> Edit Template action button" which brings up the Template editor.
In the editor, "Style Options tab -> Quick Style Changes Options panel -> Enable Localization Support button".
You have to configure Localization for each form.
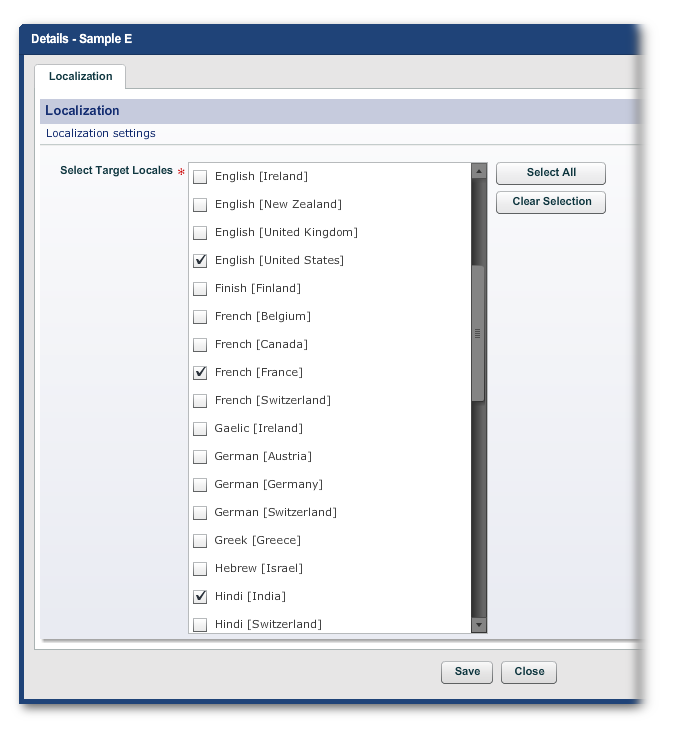
Open the form in the Form Designer and go to the Localization tab ("Workspace -> <Account> -> <Organization> -> <Project> -> <Form> -> Localization tab").
Click on the "Set Target Locales" link. This brings up a dialog for selecting locales.
You then have to generate keys for the form's elements. This is simply done by clicking on Generate Keys link in the form's Localization tab and completing the brief wizard. You can then move on the next step.
Click on the Generate Properties File link in the form's Localization tab.
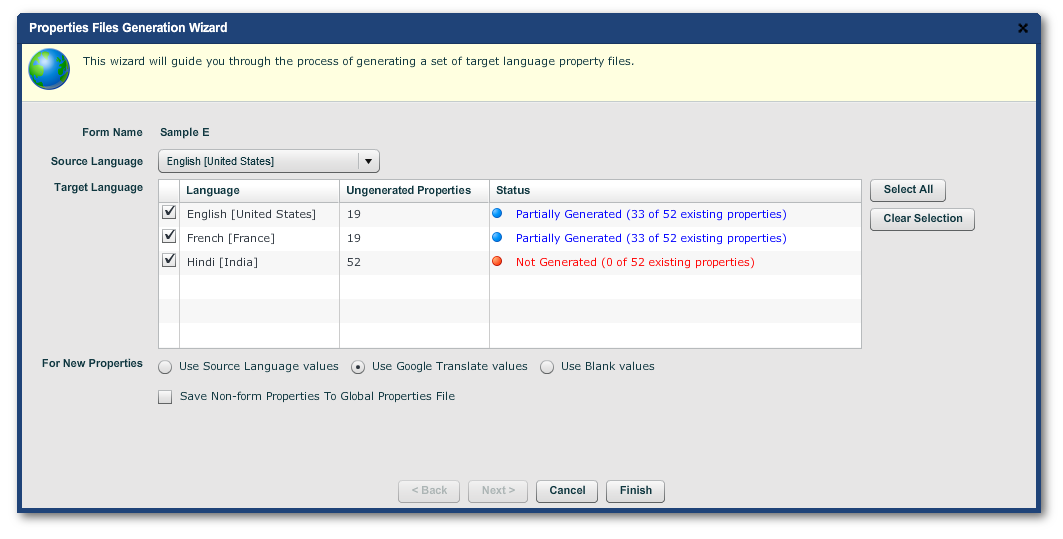
The "For New Properties" radio buttons and checkbox:
•Use Source Language Values
create the new files, but leave the values the same as the original locale and let the (human) translator change the values to the new locale
•Use Google Translate Values
and use these values as a rough draft for the translator
•Use Blank Values
let the translator fill in the blank values. This means the translator will have to have access to the Properties file of the original locale of the form.
•Save Non-form Properties to Global Properties File
This means that a global properties file is created for each locale at the Organization's internal library resources level. It lists only the template's common properties (such as "Type-Section.section.help.image.tooltip" or "Button-SectionCollapse.tooltip" and so on).
Form properties are the content of the individual form, such as "form.customer.section.heading" or "form.firstName.label". Form properties are objects that begin with "form.".
These property files for form properties will appear in the Localization tab of the form:

Their contents look as follows:
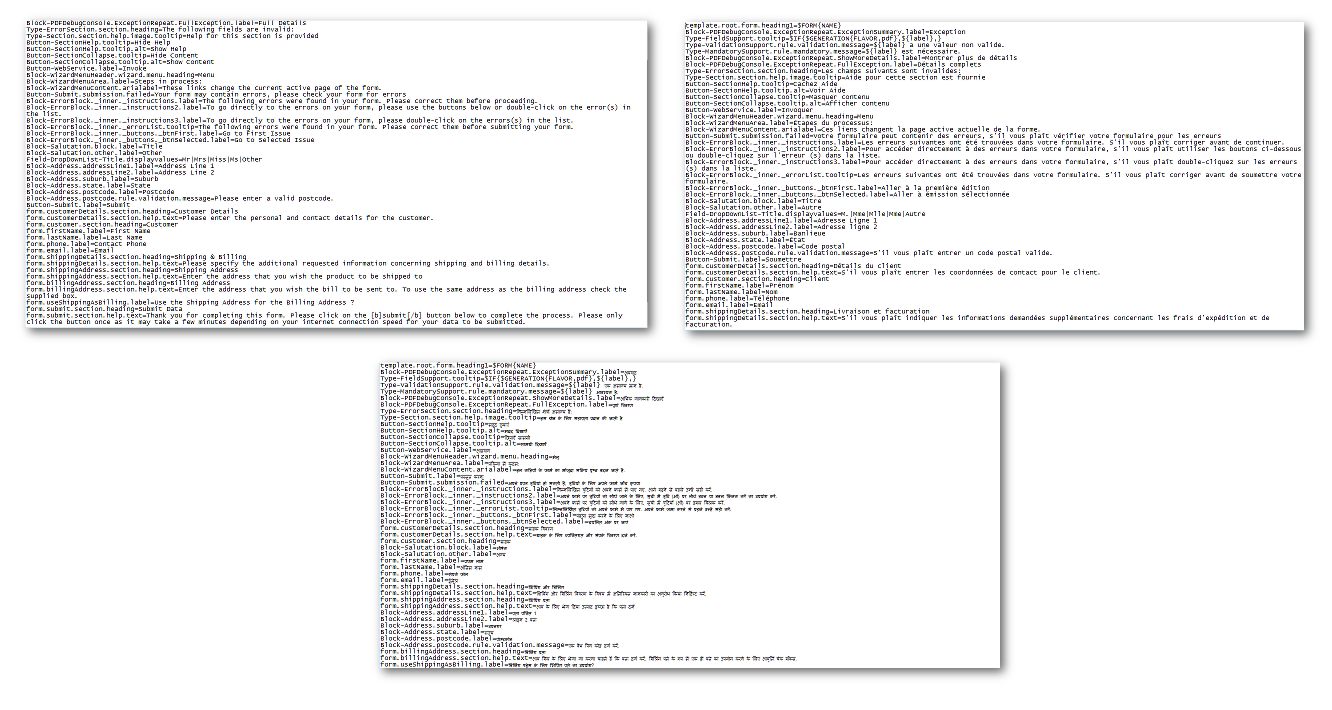
The translators then can edit the translation of the properties. Be careful, though, that the diacritics and glyphs of any script (here Devanagari for the Hindi locale) are handled properly by the text editor used by the translators.
The Localizations of the form can be deployed to different instances of the parent form in Transaction Manager, or for that matter to different portals.
