

Collaboration Widgets |

|

|

|

|
|
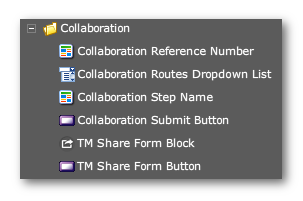
Collaboration Widgets |
|
|
|

|
Collaboration Widgets |
|
|
|
|
|
Collaboration Widgets |
|
|
|
|
|
|
||
Transaction Manager tracks the form's progress through the various steps of the collaboration job with the following:
•Job Number
which TM assigns to the collaboration on receiving the first submission of the collaboration job. The number then applies to every stage of the collaboration job.
•Tracking Code
which is unique to each submission of the form during the course of the collaboration job. The code increments on each successive submission of the form throughout the collaboration job; thus, each submission in a job has a unique Tracking Code.
Just dropping the widget onto the form, without editing its properties, will display the Tracking Code in the subsequent steps of the collaboration job. The field will be blank, however, during the initial rendering of the form in the first step (called "Start" in our sample workflow). The applicant, can obtain the Tracking Code after first submission through the portal's post-submission page.
When a step has a number of possible routes, the user can choose either choose the route from this dropdown list widget or a Collaboration Submit Button. This widget is mandatory by default so, to avoid error messages, do not have both collaboration submit buttons and this dropdown list.
The list is populated by the available route names of the current collaboration step. If there is only one route, the dropdown is not visible.
If you want to display different names from the route names (as defined in the service's JSON object) use "Edit Properties -> Properties -> Data -> Data panel" and fill in the Route Name Stack and Displayed Route Name Stack fields with the substitutions. For this to work, the route names must be unique throughout the JSON object (but this is not the case with the 2 Job Controller templates).
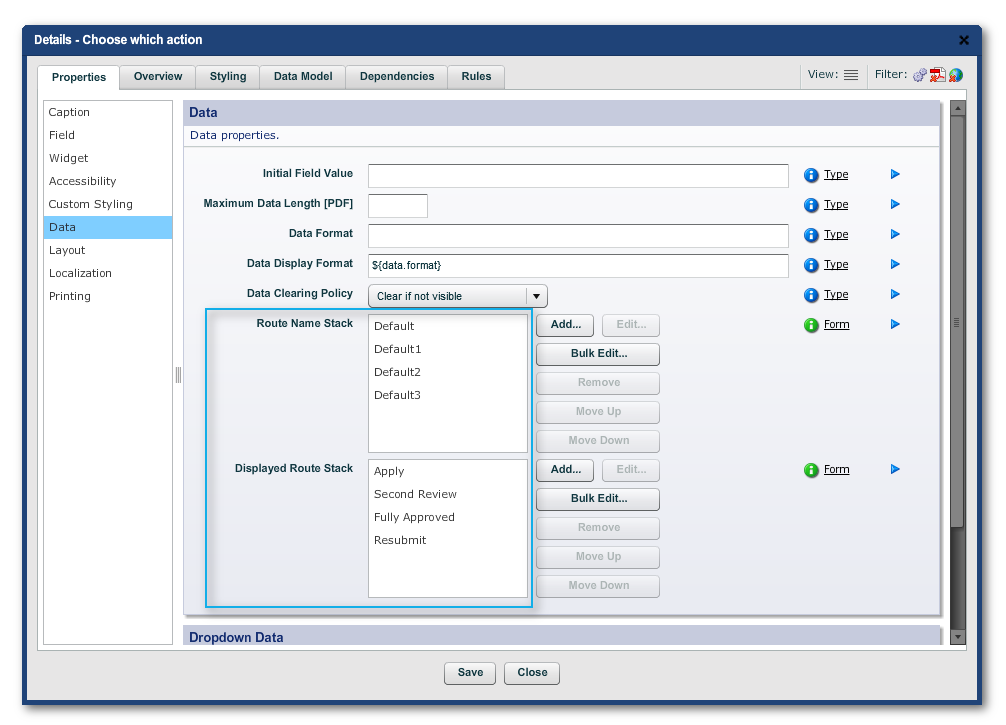
As in the above example, each route stack name should be unique for the substitution of the displayed name to work. Otherwise, when the collaboration job is running in Transaction Manager, the other route names not defined in this dialog will just display their route names. The same applies if you are testing prepop data in Composer.
This field displays the current step name when the collaboration job is running and the form has been prepopulated by TM.
This button is another way to select a particular collaboration route. A number of these buttons can be used instead of the one routes dropdown list.
Each of these buttons have to be configured:
•"Edit Properties -> Data -> Collaboration -> Collaboration Route Name". Give the route name as it appears in the JSON object in the service definition.
e.g.:"Default" in the Initial Review step.
•"Edit Properties -> Properties -> Caption -> Caption Text". Make this the text you want to appear on the button.
e.g.: "Additional Review" in the Initial Review step.
So, the button will only be active during the Initial Review, and clicking on it will submit the form with the Default2 available route selected.
This is a convenience widget to be used only while you are developing and testing the form. It will not render on forms published to and accessed from Transaction Manager.
It is a block of 3 fields:
•Step Name
•Reference Number
•Available Routes
(listed separated by the pipe character "|")
and an "Apply" button
You can use it in two ways:
1.It picks up these values from the collaboration job controller Prepop Data you paste into the Prepop Data Content panel of the Edit Properties dialog.
2.Or you can manually enter test values into the fields while the form is running in Preview and then use the "Apply" button so that these values take effect in Preview.
The first way, the collaboration step of the form in Preview is determined at form generation. To change the step, paste in the Prepop Data of a different step and Preview the form again. This mimics the behavior of the form in production. You do not have to do any other settings to test the visibility and editability rules on the form.
Say you enter a Step Name into the test block while the form is running in Preview and click on the block's "Apply" button. Then, the Step Name will change from that at the time of the form's generation (when you selected "Preview"). Any visibility or editability script in the form that depends on the Step Name must be set to respond to this change of Step Name.
The easiest way to reference the Step Name in your scripts is to use the Parameter "Nuts & Bolts -> Transaction Manager Support -> CollaborationSupport -> StepName" just as we do here. The simple script to make a block visible only for the step "Initial Review" would be:
{StepName}=="Initial Review"
Note: There is a further complication if you do not pick up the Step Name from this Nuts & Bolts widget and instead use the sort of code listed in "Through Scripts" in Visibility in Collaboration. The following lines of code all do the same thing:
return $PHASE("cc.step.name")=="Initial Review";
or
sfc.getPhaseValue("cc.step.name") == "Initial Review"
However, when you manually change the Step Name in the test block in Preview, you must set the phase change event as a trigger for script. See here in Optimizing Performance on how to set this. You have to do this for every script that uses $PHASE() or sfc.getPhaseValue. The setting only influences the form's behavior in Preview. All the scripts will work regardless in production.
Please see the section Form Sharing.
